Coupling clinic
009 fairlight kits model-railways narrow-gaugeNow that the track is laid on the first stage of my new layout I need some stock for “testing”. Most of the wagons I’ve built this year already have Greenwich couplings fitted but there are also some WIP projects, acquired items and RTR that need sorting out.
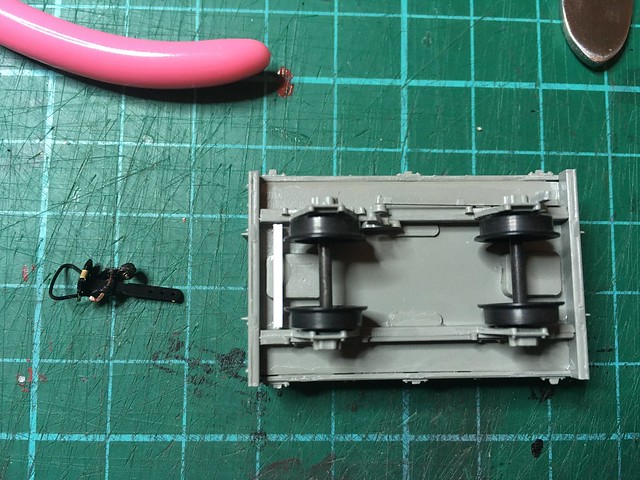
First up is a Parkside Dundas Hudson bogie open that I bought ready made a few years ago from Train Times in Eastbourne. It was already Greenwiched, but closer inspection showed that they are set too low and the single loop that was present had had it’s tail cut off meaning the iron wire used for uncoupling with magnets could not be fitted. So they had to go.
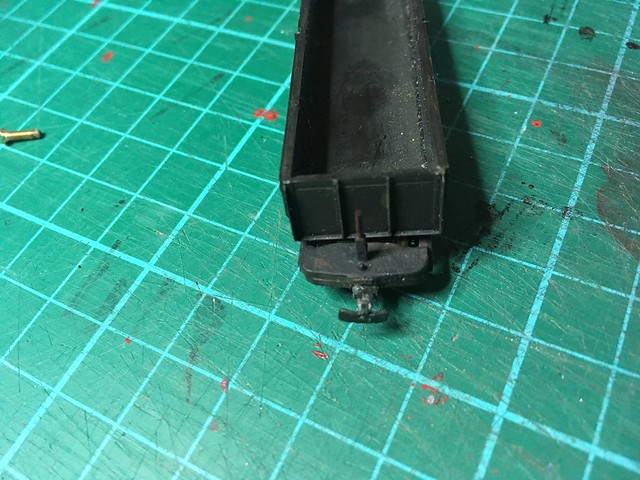
The previous couplings had been mounted in a recess on the underside of the bogies, but checking them against the height gauge that is part of the Greenwich system I found that the 6mm height recommended for the top of the coupling shank would be flush with the top of the buffer beam. A recess was therefore needed in the top, but from the state of the bogies I decided it was easier to cut the underside recess right through and pack the hole with styrene.
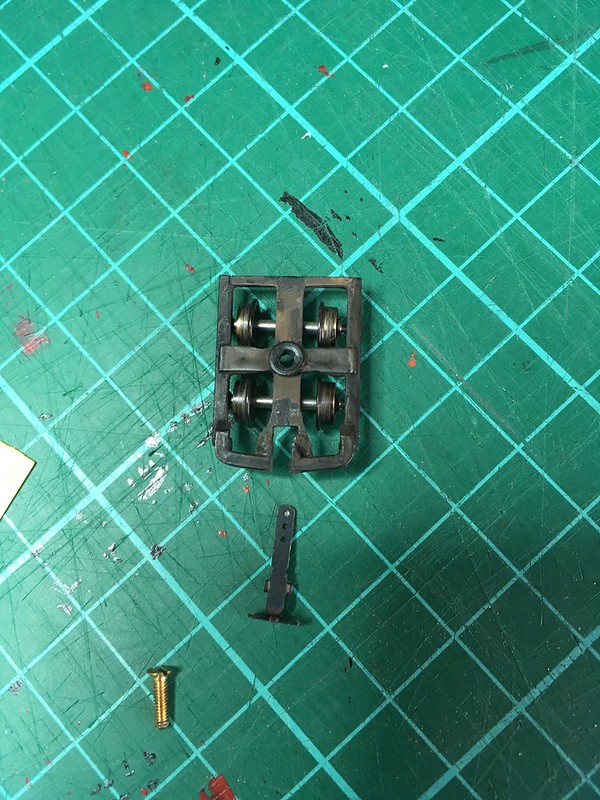
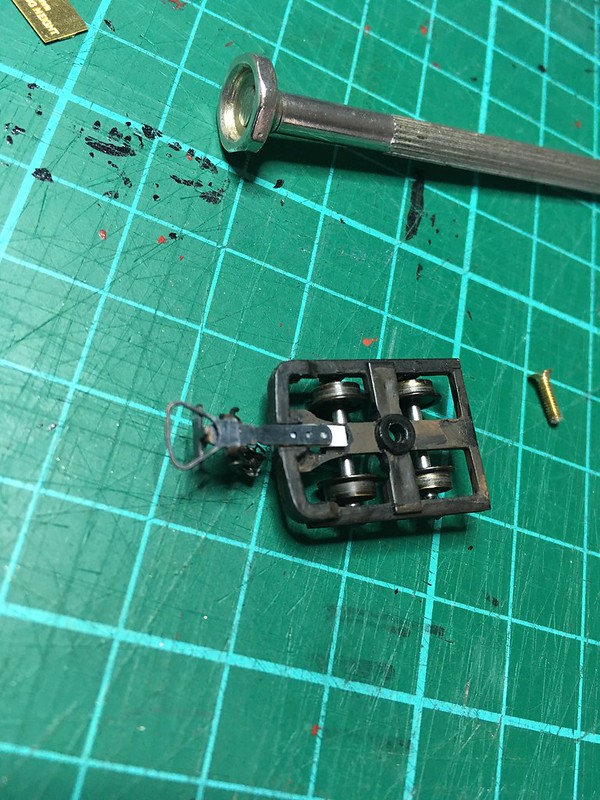
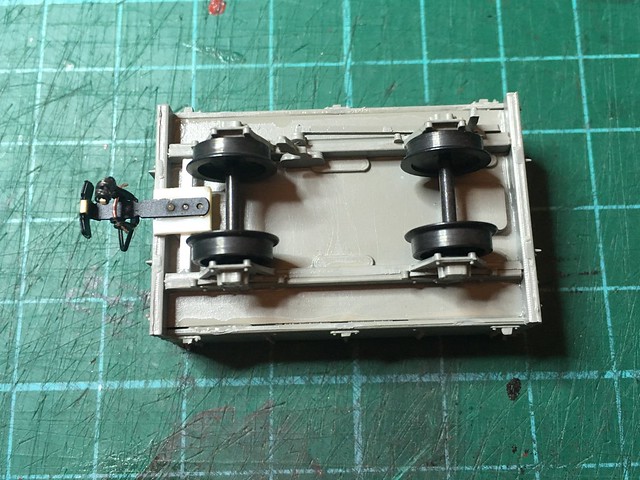
I used a couple of strips of 0.5mm, mounted on the central crossmember of the bogie, to pack a newly made coupling up to be flush with the top, and then filled the remaining gap underneath with 1mm rod. Once this filler material is painted it should be pretty invisible from normal viewing angles.
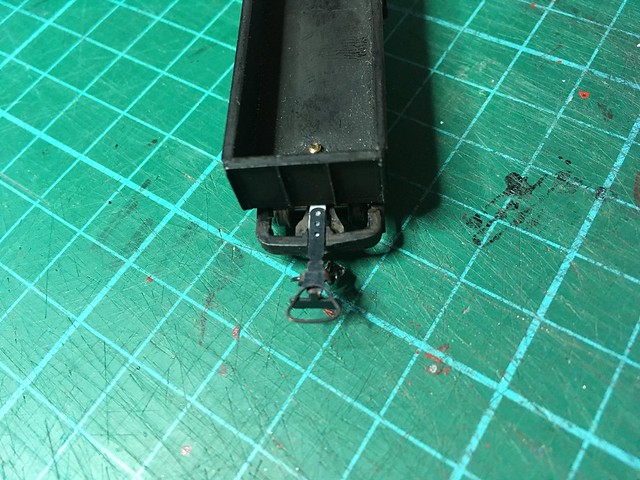
Once installed back on the wagon, it’s clearly not as neat in appearance but has the advantage of actually working. I’m sure I can disguise it a little more, and the coupling at the other end will have the brake stand on top to further hide it. This also needs repair as the hand wheel is missing.
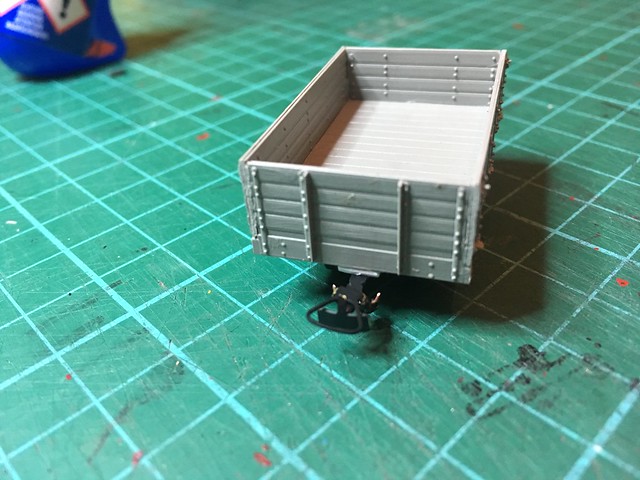
Next is a Ninelines W&L open wagon – I have a couple of these almost ready for painting. This time the bottom of the buffer beam is 7mm above the rails so the coupling needs to be packed down slightly. I glued some styrene strip to the moulded coupling mounting to form two level points to add a piece of 1mm sheet and superglued the coupling to that.
It works well and doesn’t look too out of place, although I wonder about adding a downward extension of the buffer beam to make it look more like the coupling is mounted on it rather than under it.
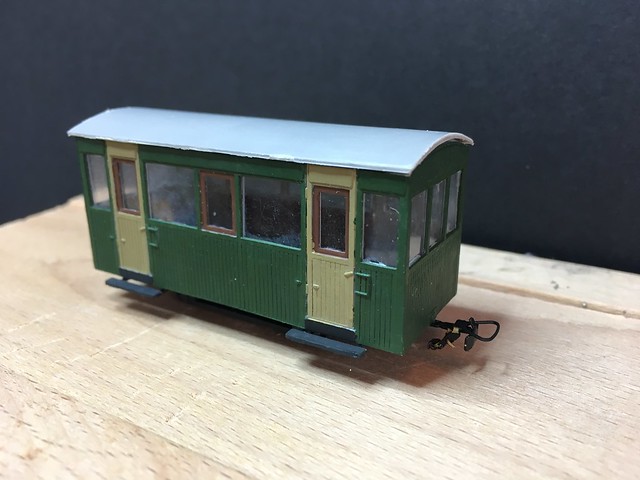
Finally for this instalment of the coupling clinic, I’ve been working on a kitbash of the Parkside Dundas ‘Bro Madog’ bogie coach – an extremely versatile 009 vehicle that has seen many conversions from many modellers over the years, most notably the “Buccabury Railcar” originated by the 009 Society Buccabury Branch group (more on my own interpretation of this idea another time…).
In this case, however, I’ve shortened the coach by taking out four windows on each side and fitted the result to a slightly lengthened Meridian Bagnall wagon chassis. The result is a neat looking observation style coach which suits a freelance new build for my preserved railway layout.
With the kitbashed chassis the lower edge of the body is at the ideal 6mm height for the couplings so fitting them has been straightforward. To make sure the overhang wasn’t going to be a problem I temporarily fitted the first coupling using blu-tack and then pushed and pulled the coach through a set track reverse curve. All was fine so I proceeded to fix them permanently.
Although most of the items above still need some final painting and details such as numbering and continuous brake fittings, I do at least now have enough stock on hand to do some proper “testing” of the layout.